Add Button (Button Link & Product Showcase)
This page details the step-by-step process of adding links to your Link Page — either as regular buttons or product showcases. It helps users structure their content effectively.
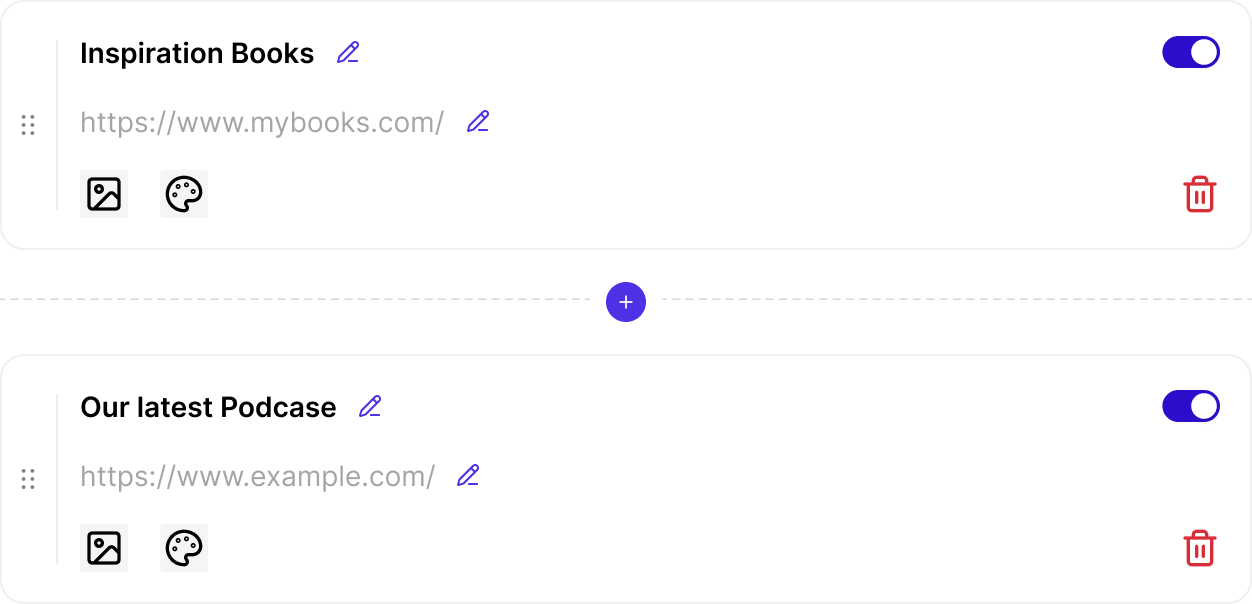
Adding a Button Link
- Open your Link Page Editor.
- Click Add Button → select Regular Link.
- Complete these fields:
- Button Title – The label shown on the button.
- Destination URL – The target link.
- (Optional) Icon or Emoji – To make it visually engaging.
- Click Save.
- Rearrange button order by drag-and-drop.
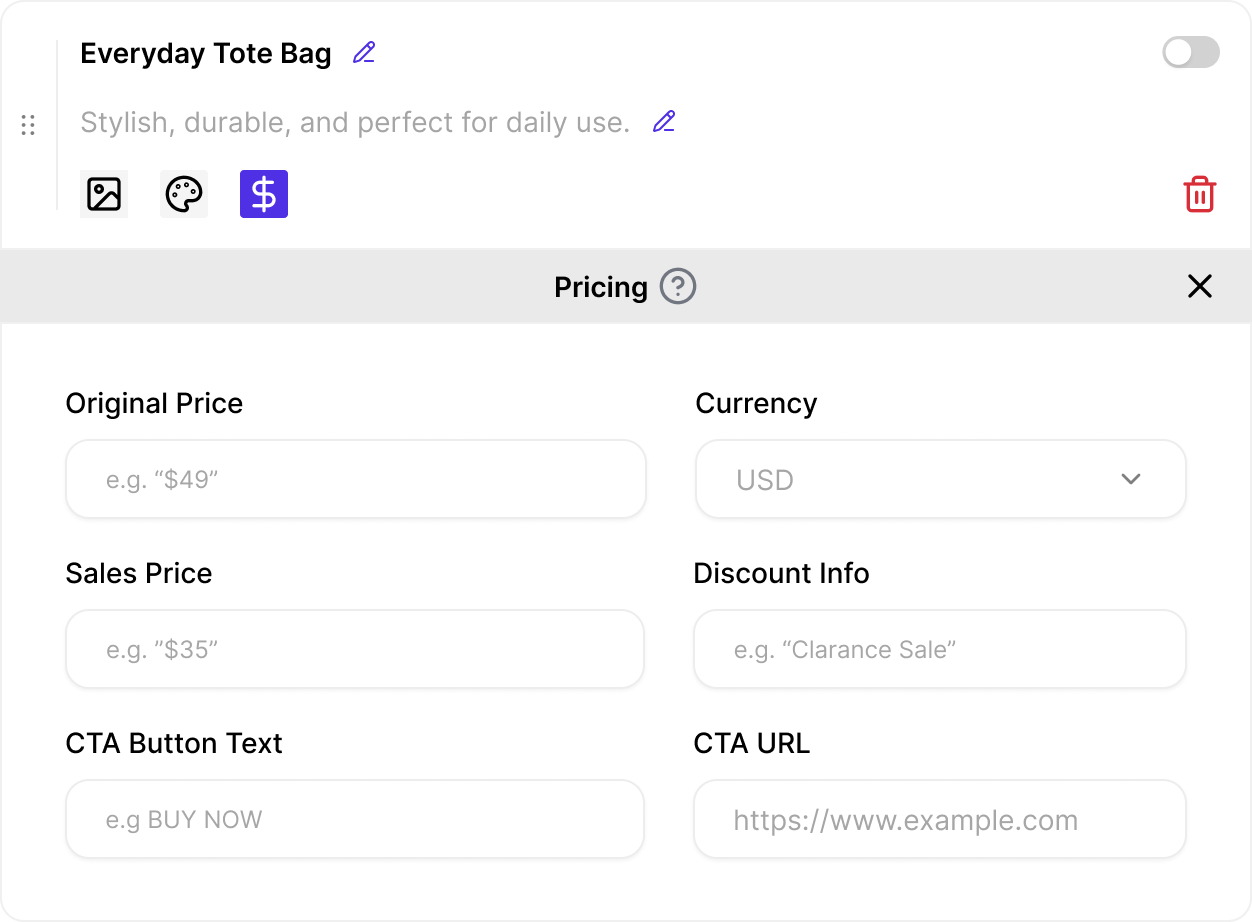
Adding a Product Showcase
- In your Link Page Editor, click Add Button → choose Product Showcase.
- Fill in the following fields:
- Product Title - The name of your product or service.
- Description - Short product description (optional).
- Product Image - Upload or select an image that visually represents your product.
- Original Price - The full price before discount (e.g., $50).
- Currency - Select the currency used (e.g., USD, IDR, EUR).
- Sales Price - The discounted or selling price.
- Discount Info - Optional field to display discount percentage or label (e.g., “20% OFF”).
- CTA Button Text - The button label for your call to action (e.g., “Buy Now”, “Order”).
- CTA URL - The link where users are directed when they click the CTA button.
- Drag and drop the item to reorder if you have multiple products.
- Preview the result to ensure pricing and button text appear correctly.
Best Practices
- Always include both Original Price and Sales Price to highlight promotions.
- Use short, action-oriented CTA labels (e.g., “Shop Now”, “Get Offer”).
- Use clear, high-quality product images for better visual appeal.